
By: Susan Joy
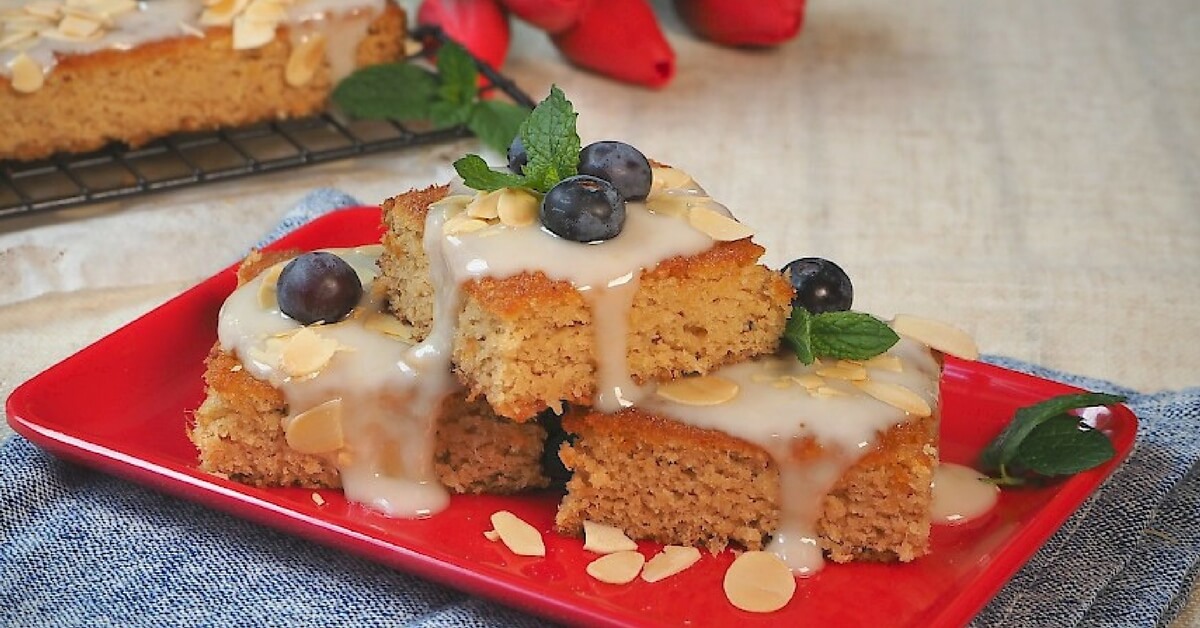
A deliciously moist cake that’s so versatile. It can be made into a no fuss slab cake drizzled with lemon icing, or into a double layered Birthday Cake or cupcakes.
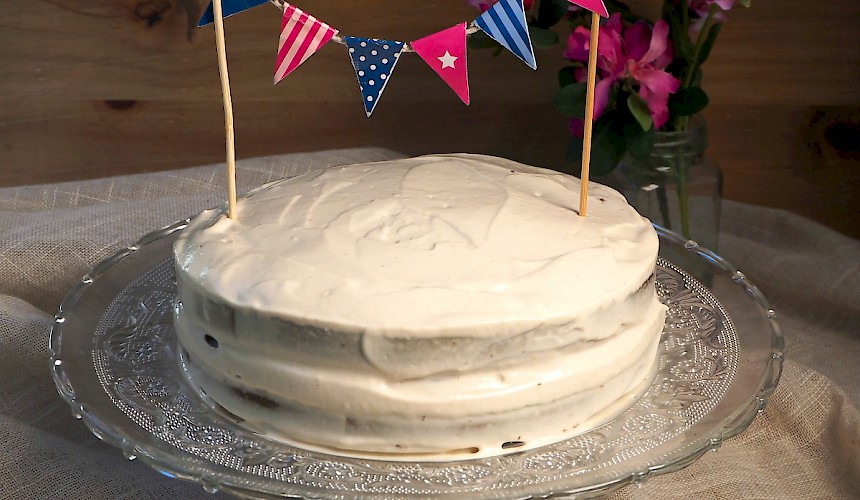
This yummy cake is just as delicious made into my nut-free version (see notes for converting below). See below for a photo of how this recipe looks as a Birthday Cake. You can halve the recipe if a smaller cake is required.
Serves: 15 squares | Prep Time: 00:20 | Cooking Time: 00:35
Ingredients
300g fresh pineapple, or 1 x 425g can unsweetened pineapple drained
1/2 cup honey (unprocessed)
1/3 cup coconut oil, soft
1/2 cup coconut (organic desiccated)
4 Lge egg(s)
2 cups almond meal/flour
1/2 cup coconut flour
1 1/2 tsp baking soda (bicarb)
1/2 tsp ground ginger
1/2 tsp fine pink Himalayan salt, or sea salt
LEMON ICING:
1/2 cup coconut cream
1/3 cup coconut oil
1 Tbsp honey (unprocessed)
1 Tbsp lemon juice
1 tsp fine lemon zest
1 1/2 tsp arrowroot flour
To decorate: 1/3 cup toasted almond flakes
NUT-FREE VERSION:
2 cups finely ground sunflower and pumpkin seeds (equal portions), to replace the almond meal
3 1/2 tsp baking powder (gluten free), to replace the baking soda
Directions
Preheat oven to 160c. Line the base and sides of a large 32 x 22cm rectangle baking tin with baking paper (or the base of 2 x 20cm springform cake tins and grease sides with coconut oil).
Add pineapple flesh to a food processor and process to form a puree. Scrape down lid and sides of bowl.
Add honey, coconut oil, coconut and eggs. Process for approximately 6 – 8 seconds to mix well, scrape down sides of bowl.
Add almond meal, coconut flour, baking soda, ginger and salt. Process for 12 seconds.
Transfer to prepared tin, spread the batter evenly over the base and smooth the top. (If you are making a double layered cake – divide the batter evenly between the 2 tins).
Bake for 35 minutes, turning once during cooking for even colour. Cake is cooked when lightly brown on top and firm to the touch. Allow to cool in the tin, once cool turn out gently onto a serving plate. (For double layered cake: the flat bottoms will go together so the cakes can be sandwiched together with the filling. See my Cashew Whipped Cream to fill and frost your Birthday Cake).
To make the LEMON ICING: Add all the icing ingredients to a small saucepan. Whisk continually while heating over med – low heat. The icing will start to thicken just as it reaches boiling point, after the first one or two bubbles appear remove from the heat. Continue whisking briskly for 1 – 2 minutes off the heat (milk and oil should have emulsified together). Set aside to slightly cool (don’t place in the fridge, it should be still warm when pouring), whisk again before icing the cake.
Spoon lemon icing over the cooled slab cake (if needed use the back of a spoon to spread evenly) and decorate with toasted almond flakes, or toasted coconut flakes for nut-free. Place in the fridge to firm up the icing, then cut into serving sizes.
Article supplied with thanks to The JOYful Table.
About the Author: Susan Joy is author of The JOYful Table cookbook containing gluten & grain free, and Paleo inspired recipes for good health and well being.